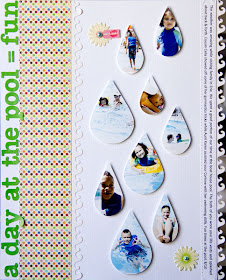
 Here is a simple & easy technique to creating photo raindrops using any Photoshop Elements (9) program. Click on images for larger view.
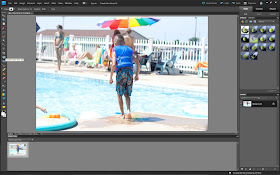
First select the "Cookie Cutter Tool" to the left on the screen.
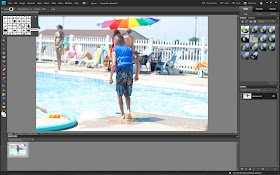
There at tons of images to chose from. For this project, select the "Raindrop" image.
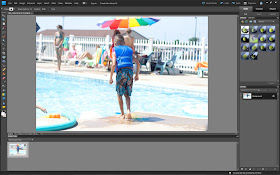
Use your mouse to click within the image & drag over the area you want to show through the raindrop shape.
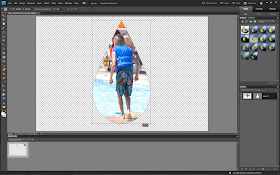
Once you've determined the size of the shape, click the green check mark to complete selection.
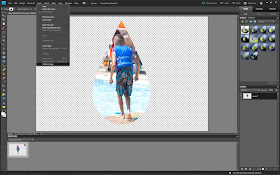
"Flatten" the image.
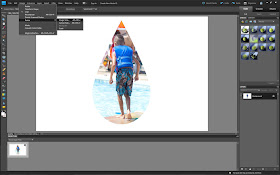
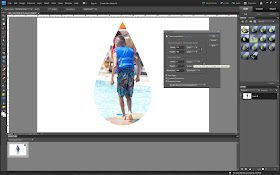
Crop & resize photo as desired & print.
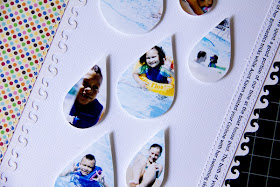
Hand-cut raindrop images & embellish on a scrapbook page. This really gives a new twist to creating & a nice change from using the standard 4x6 or other square type of photos.
Cheers & happy creating!

Such a cool tip, and I just love that layout, Cindy! Thanks for sharing this nifty idea!
ReplyDeleteI love this and can't wait to try it! I have not used that cookie cutter tool before, but your layout is proof that I should! Beautiful!
ReplyDelete