
Taking a bit of a blog break until Monday, so we can enjoy these moments with family. Happy New Year, Bloggers! xo


 I got 6 of the tall glass candles at the Dollar Tree last week, along with one package of twine. I also picked up 2 plain glass candle holders, knowing that I had oversized tealights at home to use. I simply used hot glue and wrapped the twine around the glass, and that is IT. Could not be any more simple! The whole thing took about 2 hours for all six, and it cost me less than $10. I love the way the natural elements blended in with the glitter and glitz. I intend on keeping this tablescape up through January! I also added birch bark candle covers from Pottery Barn, rolled balls of yarn, and a few twig trees for good measure.

 I got these gems at a local Dollar General store two days after Chrismas--so the set of 6 cost me a whopping $3 (because they were marked down to fifty cents each!) I love a bargain!
 I covered each house with glue, and sprinkled them with the glitter that I thought would best match my decor. Now, I'll be the first one to tell you that I am not a fan of glitter. I like the shimmer--but I'm not a fan of having it on my skin. Drives me kind of bonkers. But I sacraficed myself and took a long hot shower after finishing these. So worth it, don't you think?
 Cut the fleece into 4" wide strips. I got fat quarters at Jo Ann's--and those were an additional half off--and it gave me enough to make five of these bad boys! I used scissors--but feel free to use a rotary cutter and mat if you have one.
 Sandwich three of the fleece pieces together (one of each color)--and sew a straight seem up the middle. No need to be neat about this--just take my word for it. Next, start making half-inch cuts on both sides, being careful to NOT CUT THE SEAM. When you've made your half-inch cuts on both sides of the fabric, shake the scarf/garland, and this is what you'll have...
 Now, a few items to mention. Don't use the tip of your scissors--especially when working with children--get that fleece in the scissor well so it will cut through all three pieces of the fabric at once. The possibilities here are endless! I think my Valentine tree will need one, no? And what about St. Patrick's Day? And of course, I didn't even touch on the possibilities with felt.


 And enjoying every moment. Above, you'll see we hit Breakfast with Santa. And below, working on last minute Christmas gifts. Tutorial to follow next week...promise!
 Here's to hoping you're better prepared than me...Cheers!


 Almond Butter Crunch
 Toffee ingredients
1 2/3 cup of sugar
2 sticks of butter
3 tbls of water
1 tbls of light corn syrup
.....
1 cup of silvered toasted almonds
1 8oz of milk chocolate (I used 1 1/2 bags of chocolate instead)
1 bag of sliced toasted almonds
.....
Combine all the toffee ingredients, stirring occasionally until mixture reaches 300 degrees (you will need a candy thermometer for this).
Remove from heat and quickly stir in one cup of silvered toasted almonds (as I am stirring the toffee mixture, I actually toast the almonds in the oven, I couldn't find any already toasted).
Spread mixture thinly on a cookie sheet. allow to cool, then melt the milk/dark chocolate and spread onto the cooled toffee. (I recommend using a long spatula when spreading. I found it easier to spread than using your normal type of spatula).
Sprinkle on sliced toasted almonds (again, I toasted these in the oven while melting the milk/dark chocolate). Allow it to cool/harden.
Flip it, then spread last layer of chocolate and sprinkle w/ sliced toasted almonds.
Once it is all cool, break it up into mini chocolate pieces. I actually cut mine up with a sharp knife. these make for great party treats or to give away. Happy Baking :)


 Simply right click on the above photo, save it to your computer, and print it out to make fun holiday thank you cards! For more info on this idea, check out this post from last year. Enjoy!


 January Main Kit--SOLD OUT!!
 January Add-On Kit* $12
 So I'll let a few pictures do the talking. For starters...the Naked Cowboy (and my sweet cousin, Dawn...) Giddy up!
 Dylan's Candy Bar. Worth the trip...
 30 Rock and St. Patrick's Cathedral...
 Our daughter and her bff in Times Square...
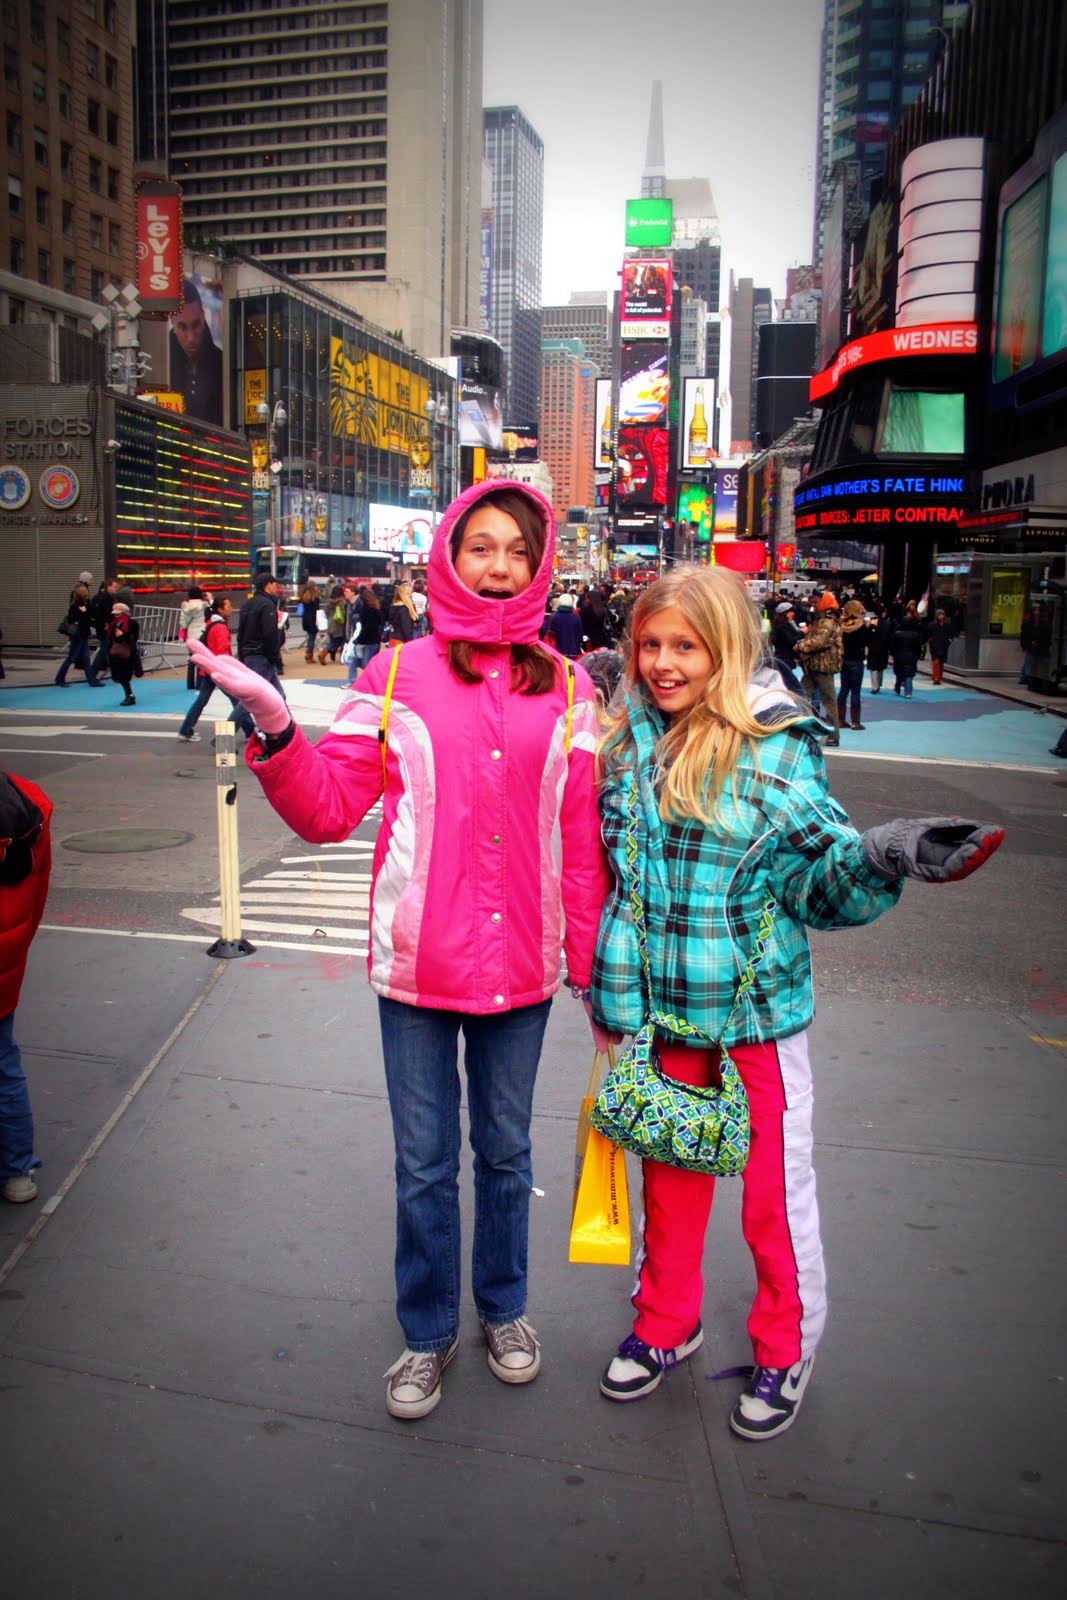 The Plaza (where I hummed the theme to the Way We Were--from the last scene that was filmed right there. I know--geek!)
 That tree is simply stunning...
 A few friends, my sister, the hubs, two of our kiddos and me in Times Square. We met up with two of my high school friends who live in Manhattan and hung out for a bit. So nice to have personal tour guides--it made riding the subway a breeze!
 Ice Skating at the rink...
 Daytime view from Top of the Rock. We also went up at night (best view I've ever seen.)
 I took 800 pictures. I'm nowhere near finished editing them. But I'm enjoying the process, and reliving it through them...
 The streets in early morning were a lot less crowded than they were later that day and into the night...
 We got to see Lester Holt and Amy Robach do the Today Show, which my kids loved. My husband also saw the Cash Cab host, Ben Bailey all dressed up in a suit. I was too busy snapping pictures to notice...figures!
 And The Tree...
 Thanks for letting me share a few of my favorite photos. You can view more of them here on Tina's blog.


